 Flash AS3教程创建好看的遮罩动画效果.docx
- 文档编号:14052712
- 上传时间:2023-06-20
- 格式:DOCX
- 页数:16
- 大小:234.10KB
Flash AS3教程创建好看的遮罩动画效果.docx
《Flash AS3教程创建好看的遮罩动画效果.docx》由会员分享,可在线阅读,更多相关《Flash AS3教程创建好看的遮罩动画效果.docx(16页珍藏版)》请在冰点文库上搜索。
FlashAS3教程创建好看的遮罩动画效果
FlashAS3教程:
创建好看的遮罩动画效果
(1)
1、新建Flash文件,导入所需的图片到舞台,设置舞台属性的宽、高同图片相同大小。
2、将图片设置为左对齐、上对齐。
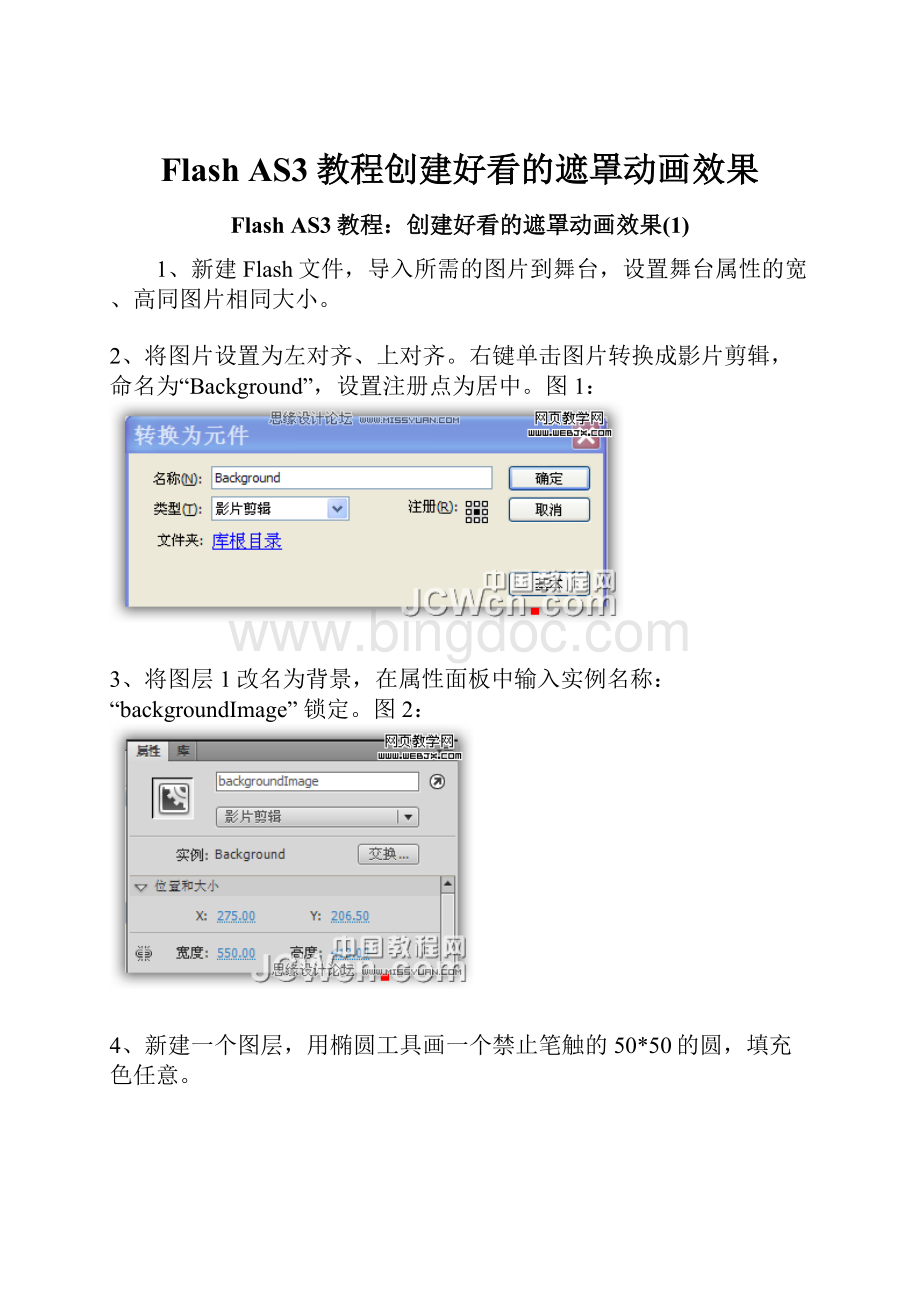
右键单击图片转换成影片剪辑,命名为“Background”,设置注册点为居中。
图1:
3、将图层1改名为背景,在属性面板中输入实例名称:
“backgroundImage”锁定。
图2:
4、新建一个图层,用椭圆工具画一个禁止笔触的50*50的圆,填充色任意。
5、把圆转换成影片剪辑,设置如下。
图3:
6、删除舞台上的圆,图层改名为as。
至此fla的美工已全部完成。
7、新建ActionScript文件,编写一个外部的MyMask.as文件。
在编译器中输入代码:
package {
import flash.display.MovieClip;
public class MyMask extends MovieClip {
//Mask’s x and y speed
public var speedX:
Number;
public var speedY:
Number;
//Set the given scale for this mask, when we create a new
//mask object
public function MyMask(scale:
Number) {
this.scaleX = scale;
this.scaleY = scale;
}
}
}
这是一个名为MyMask.as的遮罩类,保存在fla文件的同一目录下。
8、切换到fla,在as层输入代码:
//We use an array to hold all our masks.
//(Except the mask that follows our cursor)
var masks:
Array = new Array();
//We add all of the masks to a container
var maskContainer:
Sprite = new Sprite();
//Set the maskContainer to be the image’s mask
backgroundImage.mask = maskContainer;
//Add the container on the stage
addChild(maskContainer);
//Create the mask which follows cursor movement (master mask)
var masterMask:
MyMask = new MyMask
(1);
//Set the master masks’s coordinates to match cursor’s coordinates
masterMask.x = mouseX;
masterMask.y = mouseY;
//Add the master mask to a container
maskContainer.addChild(masterMask);
//Cache the image and container as bitmap, so we
//can animate the alpha of the masks
maskContainer.cacheAsBitmap=true;
backgroundImage.cacheAsBitmap=true;
//Create a timer that is called every 0.2 seconds
var timer:
Timer = new Timer(200,0);
timer.addEventListener(TimerEvent.TIMER, timerEvent);
timer.start();
//This function is called every 0.2 seconds.
//We create a new mask in this function.
function timerEvent(e:
TimerEvent):
void {
//Calculate a random scale for the new mask (0 to 1.5)
var scale:
Number = Math.random() * 1.5 + 0.5;
//Create a new mask with random scale
var newMask:
MyMask = new MyMask(scale);
//Set the position for the new mask
newMask.x = mouseX;
newMask.y = mouseY;
//Assign a random x and y speed for the mask
newMask.speedX = Math.random() * 20 - 10;
newMask.speedY = Math.random() * 20 - 10;
//Add the mask to the container
maskContainer.addChild(newMask);
//Add the mask to the array
masks.push(newMask);
}
//We need ENTER_FRAME to animate the masks
addEventListener(Event.ENTER_FRAME, enterFrameHandler);
//This function is called in each frame
function enterFrameHandler(e:
Event):
void {
//Loop through the mask array
for (var i:
uint = 0; i < masks.length; i++) {
//Save a mask to a local variable
var myMask:
MyMask = (MyMask)(masks[i]);
//Update the x and y position
myMask.x += myMask.speedX;
myMask.y += myMask.speedY;
//Increase the scale
myMask.scaleX += 0.1;
myMask.scaleY += 0.1;
//Reduce the alpha
myMask.alpha -= 0.01;
//If the alpha is below 0, remove the mask
//from the container and from the array
if (myMask.alpha < 0) {
masks.splice(i,1);
maskContainer.removeChild(myMask);
}
}
//Update the master mask position
masterMask.x = mouseX;
masterMask.y = mouseY;
}
9、好了,工作全部完成,测试你的影片。
FlashAS3教程:
创建好看的遮罩动画效果
(2)
1、准备一张图片。
2、新建一个500*300的Flash文件。
(设置宽、高同图片大小)
3、导入图片到库中。
4、从库中把图片拖到舞台上,左对齐,上对齐。
5、右键点击图片,转换成影片剪辑。
元件名:
“cityMC”。
图1:
6、在属性面板中输入实例名称:
“cityMC”。
图2:
7、锁定图层1,添加图层2。
用圆角矩形工具在舞台上任意位置、任意颜色、画一个圆角为10的40*40的矩形。
图3:
8、把圆角矩形转换成影片剪辑,名称为“maskMC”,注册点居中。
图4:
9、删除舞台上的圆角矩形。
打开库右键单击maskMC影片剪辑,选属性作类链接,类名:
“MaskRectangle”图5:
10、把图层2改为as,输入代码:
//We need these classes for the animation
import fl.transitions.Tween;
import fl.transitions.easing.*;
//These are the mask rectangle’s width and height
var boxWidth:
Number = 40;
var boxHeight:
Number = 40;
//We want nine rows and 14 columns to make the animation look nice
var rows:
Number = 9;
var columns:
Number = 14;
//We will add the rectangle’s into an array (we need this array in the animation)
var rectangles:
Array = new Array();
//We add the tweens into an array so they don’t get carbage collected
var tweens:
Array = new Array();
//This container will hold all the mask rectangles
var container:
Sprite = new Sprite();
//Add the container onto the stage
addChild(container);
//Set the container to be the image’s mask
cityMC.mask = container;
//Loop through the rows
for (var i=0; i < rows; i++) {
//Loop through the columns
for (var j=0; j < columns; j++) {
//Create a new mask rectangle
var maskRectangle:
MaskRectangle = new MaskRectangle();
//Position the mask rectangle
maskRectangle.x = j * boxWidth;
maskRectangle.y = i * boxWidth;
//Set the scaleX to be 0, so the rectangle will not be visible
maskRectangle.scaleX = 0;
//Add the rectangle onto the container
container.addChild(maskRectangle);
//Add the mask rectangle to the rectangles array
rectangles.push(maskRectangle);
}
}
//Create and start a timer.
//This timer is called as many times as there are rectangles on the stage.
var timer = new Timer(35,rectangles.length);
timer.addEventListener(TimerEvent.TIMER, animateMask);
timer.start();
//This function is called every 0.035 seconds
function animateMask(e:
Event):
void {
//Save the rectangle to a local variable
var rectangle = rectangles[timer.currentCount - 1];
//Tween the scaleX of the rectangle
var scaleTween:
Tween = new Tween(rectangle,"scaleX",Regular.easeOut,0,1,1,true);
tweens.push(scaleTween);
}
11、完工,测试影片。
FlashAS3教程:
创建好看的遮罩动画效果(3)
1、导入你想要使用的一个图片到舞台,设置属性:
宽、高与图片相同。
2、把图片拖到舞台上,左对齐,上对齐。
右键单击图片,转换成电影修剪。
(名字任意)图1:
3、在属性面板中输入实例名字"imageMC"。
图2:
4、添加as层,输入代码:
//This container contains all the mask graphics
var container:
Sprite = new Sprite();
addChild (container);
//Set the container to be the image’s mask
imageMC.mask = container;
//Set the starting point
container.graphics.moveTo (mouseX, mouseY);
addEventListener (Event.ENTER_FRAME, enterFrameHandler);
/*Draw a new rectangle in each frame and add it onto the container
NOTE:
you can use all kinds of shapes, not just rectangles!
*/
function enterFrameHandler (e:
Event):
void {
container.graphics.beginFill(0xff00ff);
container.graphics.drawRect(mouseX-50, mouseY-50, 100, 100);
container.graphics.endFill();
}
Mouse.hide();
5、完成,测试你的影片剪辑。
遮罩可以做成任意形状。
只是矩形、圆形等简单的图形比较容易一些,复杂的图形用代码绘制要难一些。


- 配套讲稿:
如PPT文件的首页显示word图标,表示该PPT已包含配套word讲稿。双击word图标可打开word文档。
- 特殊限制:
部分文档作品中含有的国旗、国徽等图片,仅作为作品整体效果示例展示,禁止商用。设计者仅对作品中独创性部分享有著作权。
- 关 键 词:
- Flash AS3教程创建好看的遮罩动画效果 AS3 教程 创建 好看 动画 效果
 冰点文库所有资源均是用户自行上传分享,仅供网友学习交流,未经上传用户书面授权,请勿作他用。
 《草房子》教学设计.docx
-
《耳鼻咽喉科学》教学目标和教学大纲.docx
-
《国际贸易》课后习题答案.docx
-
《财务报表分析》课后习题参考答案精选文档.docx
-
《斗鸡》大班教案.docx
-
《广东省省级财政性资金投资民用建筑项目管理暂行办法》粤府办4号.docx
-
《金融erp》实验报告模板格式1.docx
-
《漂亮老师与坏小子》读后感15篇.docx
-
《首尔大学韩国语》第二册.docx
-
《系统工程》复习资料.docx
-
《渔父》检测练习附参考答案.docx
-
《00152组织行为学》真题答案及解析.docx
-
《春》教学设计通用6篇.docx
-
《aftereffects》课程标准.docx
-
《大学英语三级单词》高频词.docx
-
《公共组织理论》教学大纲.docx
-
《建筑工程评估》课程设计.docx
-
《马克思主义基本原理概论》期末考试复习题.docx
-
《三字经》拼音注释完整版.docx
-
《我爸爸》小班语言教案.docx
-
《野望》《黄鹤楼》《使至塞上》知识练习题及古诗词鉴赏答题技巧.docx
-
0cf3aea5f56527d3240c844769eae009581ba2a1.docx
-
4P营销策略的运用doc.docx
-
7李商隐诗两首教学设计教案.docx
-
20XX年党支部工作报告决议工作报告doc.docx
-
28卸料平台方案工字钢悬挑要点.docx
-
110kVxx变电站扩建工程监理规划.docx
-
1999年考研英语真题阅读详解.docx
-
AP微积分BC选择题样卷一.docx
-
C++汽车租赁管理系统.docx
-
《初中语文个性化作业设计的实验和设计研究》课题开题报告.docx
-
《高速公路建设项目质量保证体系和质量保证措施》示例.docx
-
隧道作业指导书.docx
-
领导班子个人工作总结.docx
-
年国家开放大学电大《文学概论》形成性考核13.docx
-
太阳能热泵热水系统方案.docx
-
宁波市19中学初二语文上册期中试题及答案精品教育doc.docx
-
体育社团跳绳教案.docx
-
六级翻译历年真题解析.docx
-
天然气处理加工与利用.docx
-
女性创业调研报告3篇.docx
-
停车场管理制度.docx
-
六年级英语上册寒假作业部分乱码.docx
-
频率统计表画GRE词汇考试频率统计表四十三.docx
-
评语大全之小学语文微课评语.docx
-
路基基床表层级配碎石试验段施工方案.docx
-
通信原理课程分析方案示例.docx
-
普通本科毕业论文设计指导情况登记表.docx
-
论文汇总0614.docx
-
企业供应链物流管理模式研究论文共2篇.docx
-
铝合金门窗检测资料.docx
